Crop and Style a Picture
- In PowerPoint, a picture is defined as a digital photograph,
a piece of line art or clip art, or other artwork that is created in another program
- You can insert 14 different types of pictures including JPEG File Interchange Format
and B M P Windows Bitmap files into a PowerPoint presentation
- You can also hide a portion of the picture you don’t want to be seen by
cropping it.
- To reduce the size of the file you can permanently delete the cropped portion
by applying picture compression settings in the Compress Pictures dialog box.
- Download a picture jpg file, Group
first.
- Open PPT3 file from the last page.
- Click the Slide 1 thumbnail to insert a background picture as below.
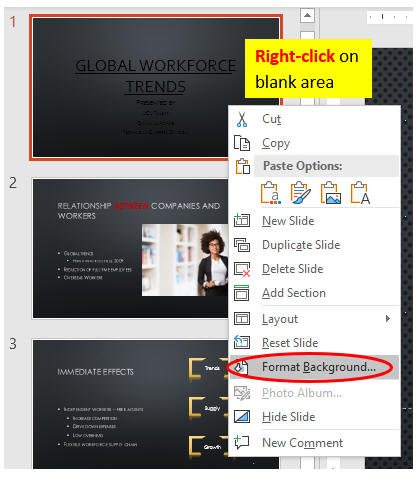
- Click Insert File as below.
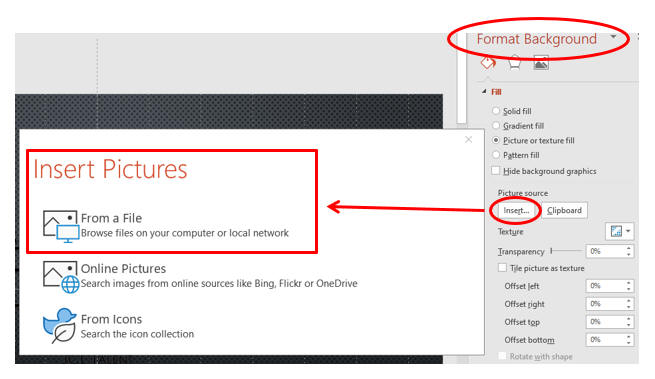
- Select Group file from your folder. Click Insert.
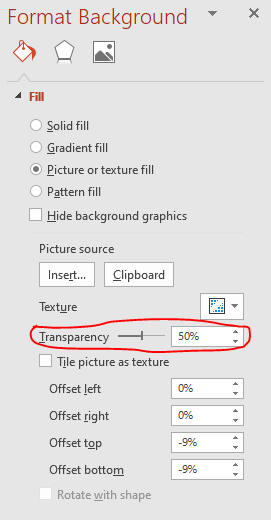
- Make transparency as below.
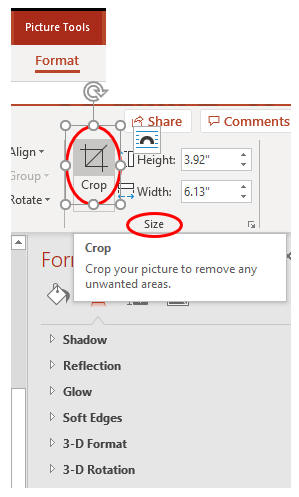
- Click the Slide 2 thumbnail. Click the picture.
- Click Crop as below.
- Drag the middle-left cropping handle
to right as below.

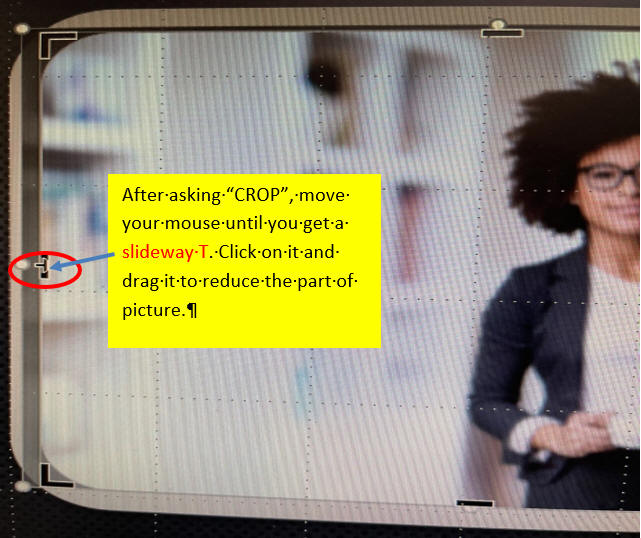

- Press ESC key.
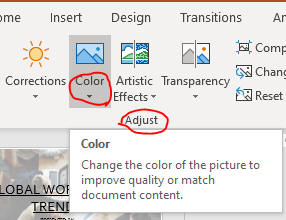
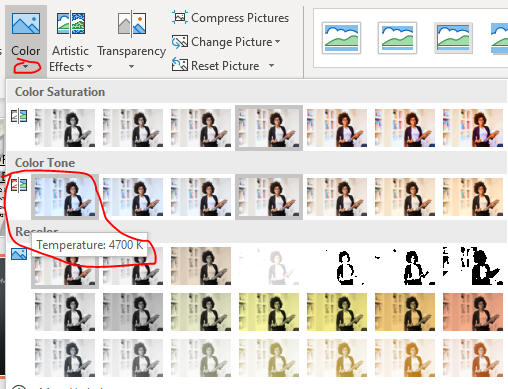
- Format with color button as below.
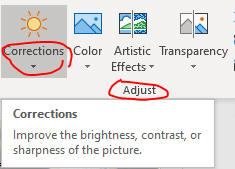
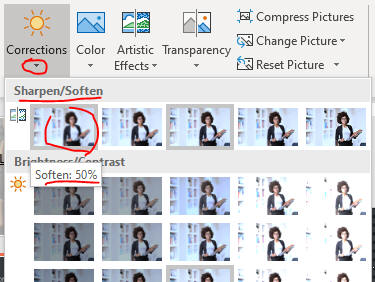
- Format with correction button as below.
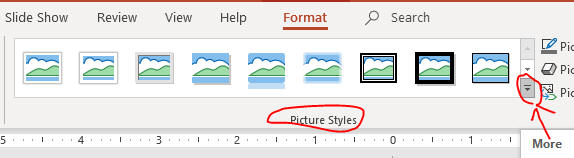
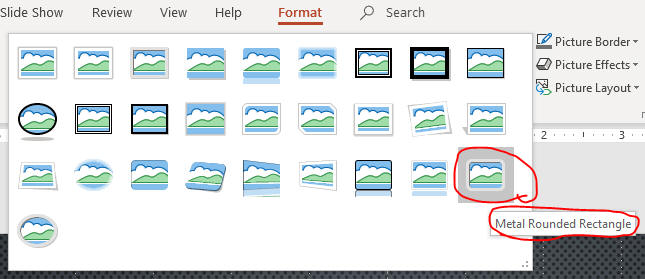
- Click more button in the Picture Style group as below.
- Drag the picture to the center of the blank area of the slide to the
right of the text object,
click a blank area on the slide as below.

- Save the file and go to the page, Insert a Chart.